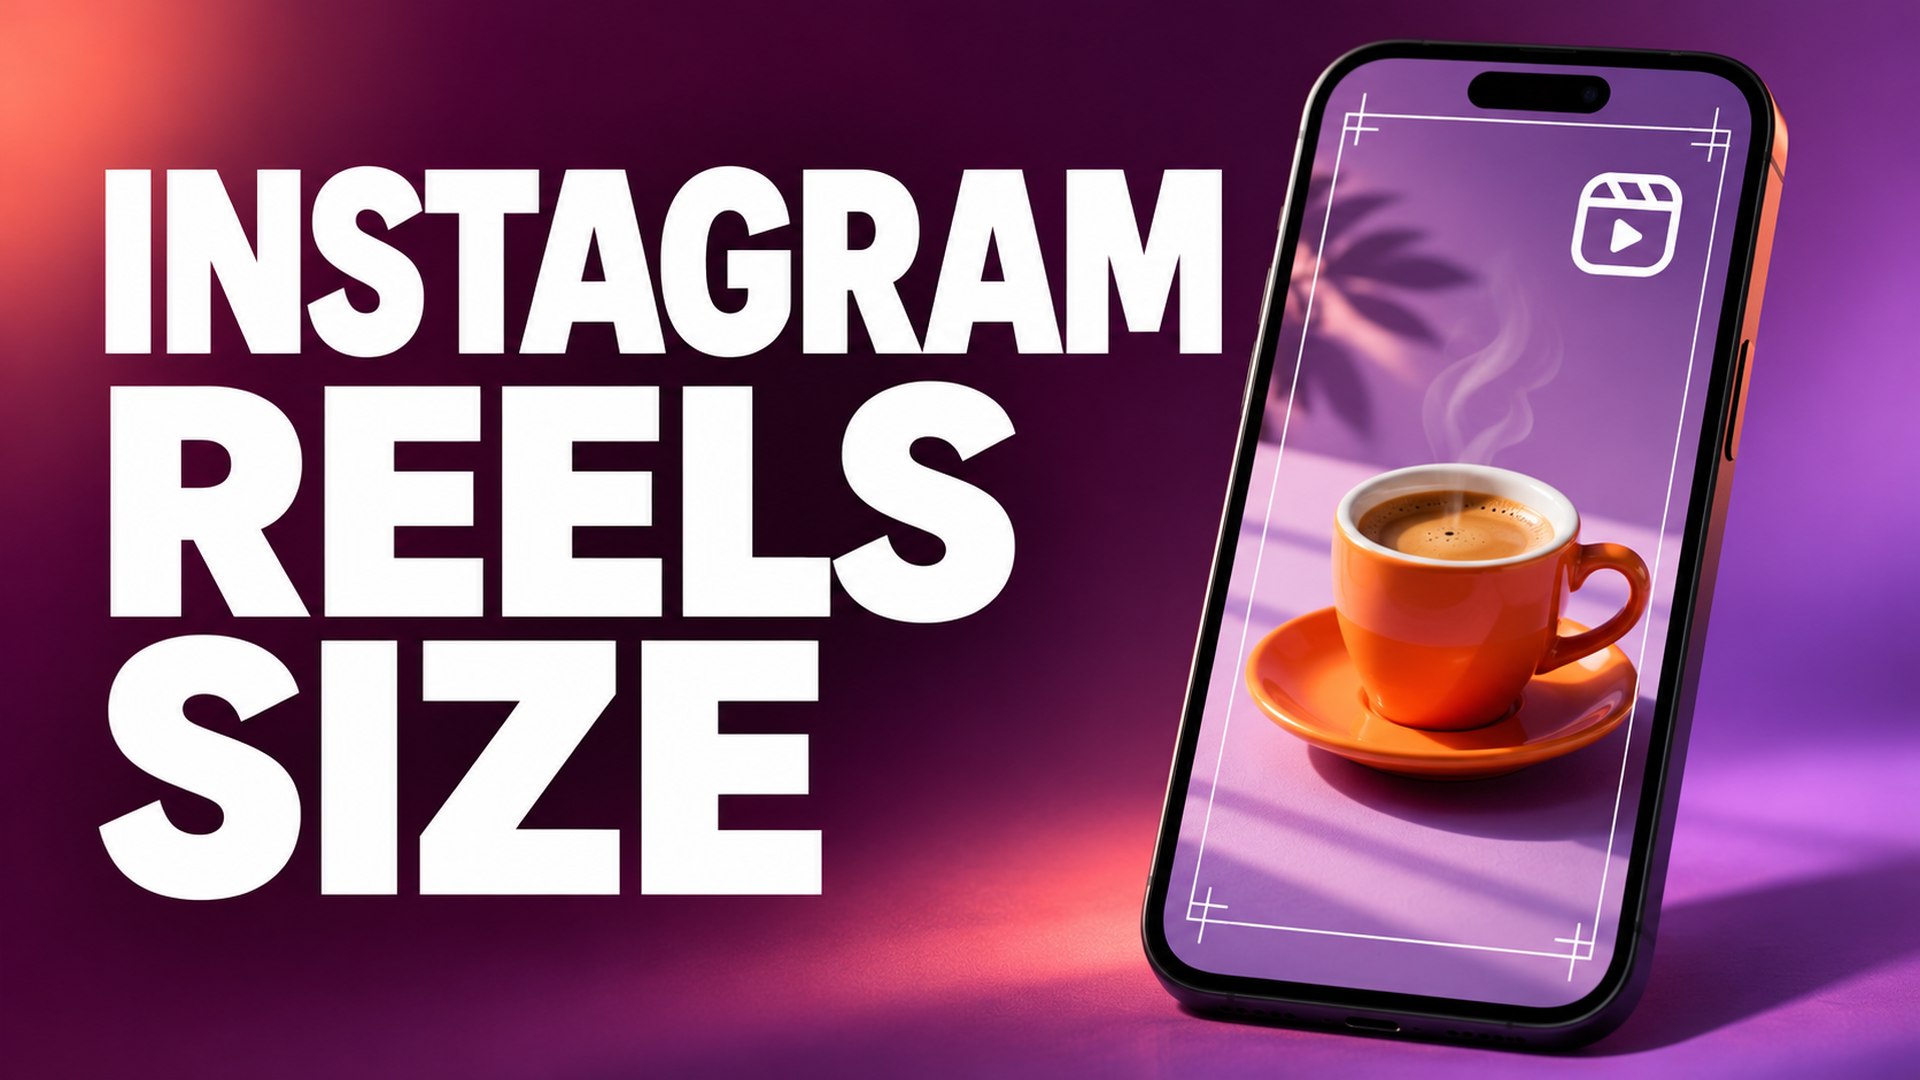
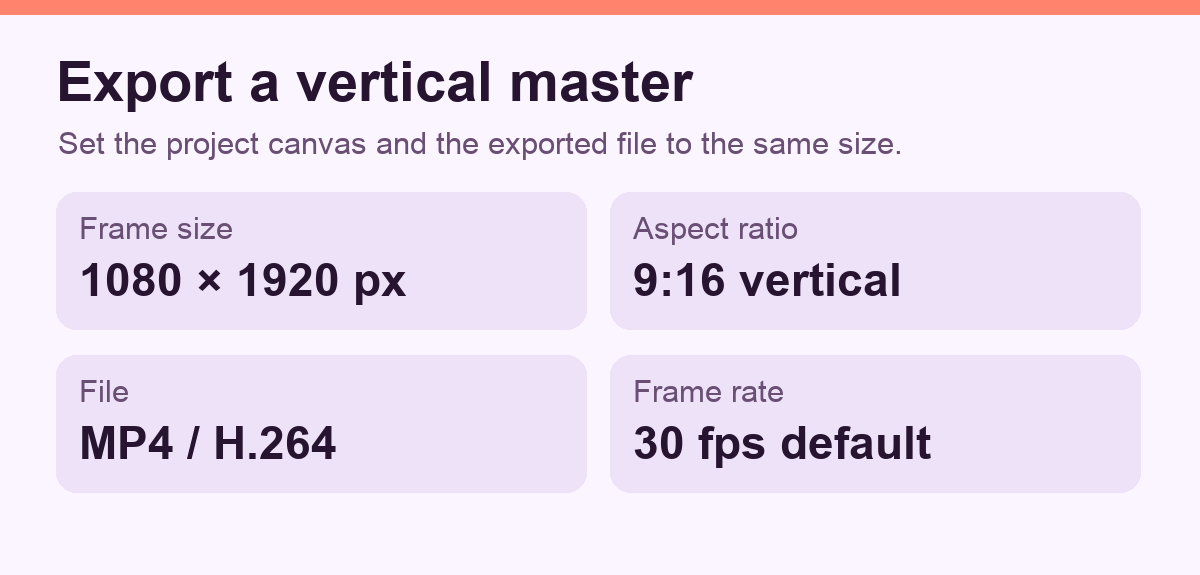
For a full-screen vertical video, set your Instagram Reels size to 1080 × 1920 pixels at 9:16. Use the same dimensions for the project canvas and the exported file. Then check where the cover title and captions land in Instagram. A clip can fill the Reels player and still lose the first word of its title in a smaller preview.
On this page
Instagram Reels dimensions and aspect ratio
The 1080 in 1080 × 1920 is the width. The 1920 is the height. A file that measures 1920 × 1080 has those numbers reversed and gives you a horizontal video. If you edit on a desktop, choose a vertical project preset before importing clips so you can make framing decisions against the same canvas you’ll export.
A 9:16 aspect ratio describes the shape of the frame. A 720 × 1280 export has that same shape, with fewer pixels. Use 1080 × 1920 as your working default, especially for material with subtitles, fine detail, or small product labels. Meta recommends a 9:16 aspect ratio in its Reels publishing documentation. Its API-specific limits apply to that publishing route.
| Setting | Starting point | What to check |
|---|---|---|
| Project canvas | 1080 × 1920 px | Width comes first |
| Aspect ratio | 9:16 vertical | A horizontal source may need reframing |
| Export file | MP4 with H.264 | Open the file and inspect the first and last frames |
| Frame rate | 30 fps for footage shot at 30 fps | Match source motion when you have a reason to use a different rate |
Suppose you have a 1920 × 1080 interview clip and need a Reel from it. A centered vertical crop may work while the speaker sits still. If they lean across the frame or point to a product off to one side, you’ll need to adjust the crop at that moment. Split the clip at the gesture, set a new crop for that segment, and watch the cut at normal speed. On a longer move, use position keyframes so the framing follows the action.
When the full width carries information, as it does in a screen recording of a spreadsheet, a tight crop can remove the very column you’re explaining. Fit the wide shot inside the vertical canvas for context, then cut to a closer view of the relevant cell or menu. Add a readable callout if the original interface text is too small on a phone. Keep the wide original so you can make separate edits for other channels. Market Burner’s video marketing guide covers how to plan those versions for different platforms.
How the Reel player, feed, and profile grid show your video
Use the full-screen Reel to check motion and interface overlays. Use the feed preview to check the opening composition in context. Use the main profile grid to check the cover as a small tile next to other posts. Instagram can show the same content differently across those placements. Meta’s documentation on Reels sharing explains how a Reel can also appear in the feed.
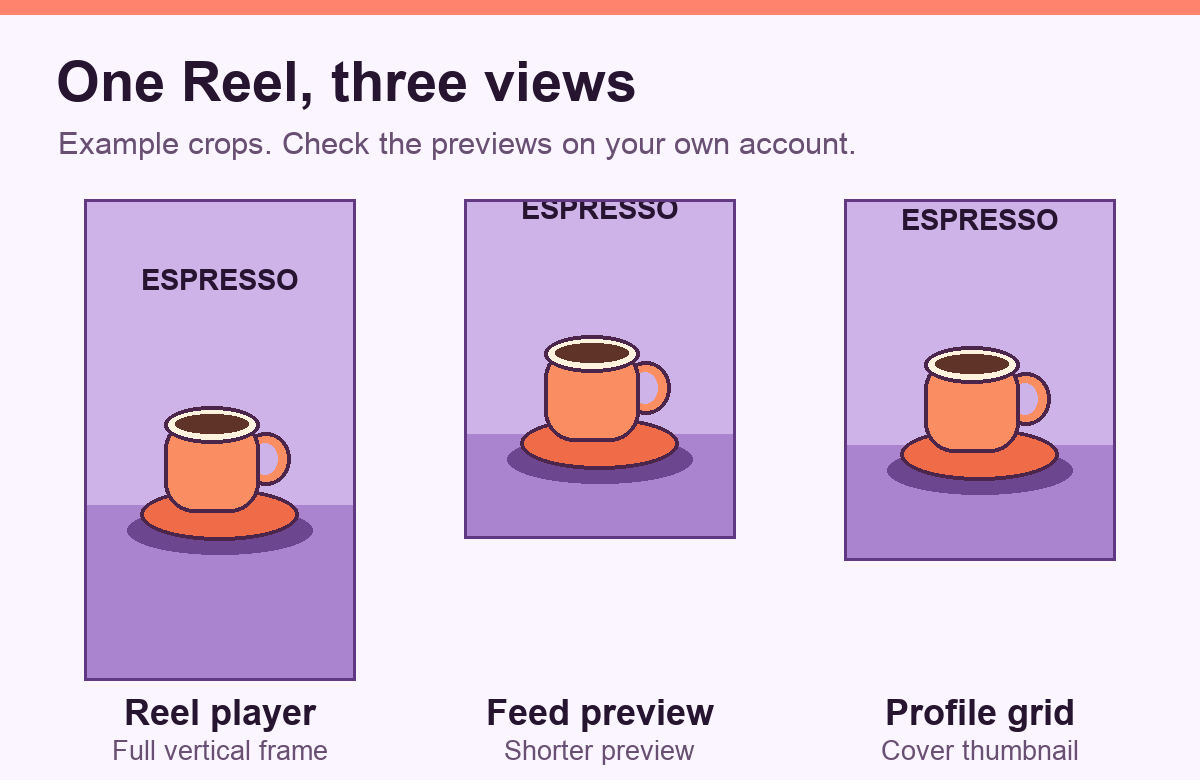
Imagine a café posts a recipe Reel with “Iced orange espresso” above the glass. On the full vertical canvas, that arrangement leaves space for the pour. In a shorter preview, the title can fall partly outside the visible area. Start with the title closer to the glass on the cover, then check whether the first moment of the actual video still reads well in the feed. You can use different frames for the cover and the opening shot.
A preview crop and a control overlay call for different fixes. If the top of the cover disappears in the profile grid, move the cover title inward or adjust the crop in the cover preview if Instagram offers that control. If playback buttons sit on top of a subtitle, move the subtitle in the video project. Replacing the cover will leave the playback subtitle in its original position.
Choose an Instagram Reels cover size and check the crop
Start the cover design on a 1080 × 1920 canvas so you can use the same source frame as the video and move elements around as needed. Treat this as a design workspace. The uploaded cover and the tile people see on your profile can use different crops. Check the cover’s appearance at thumbnail size before you post, especially if it’s part of a series where readers rely on the title to tell videos apart.
A frame grab works when the subject is sharp and easy to recognize. Scrub through the source clip and pause just before or after any fast motion. A hand pouring coffee may look clear during playback and turn into a blur on the still cover. If you’re creating a separate graphic, pick a short line that fits at thumbnail size. Give it a quiet patch of background so the words don’t compete with the object behind them.
For a series, reuse the same title position and type size, then test the longest title in the set. If it wraps on the second line, check both the new bottom line and the gap between the title and the subject. Save a copy of the cover with editable text. You can then shorten a phrase or shift the crop without rebuilding the design from a flattened image.
Put captions and logos inside a safe working area
The Reel player can place controls along the right edge and account or caption information near the bottom. Position the subtitle farther inward so it clears both areas, then check the result in the app. A screen with a longer caption, a different device size, or a different app layout can show more of the interface over your video.
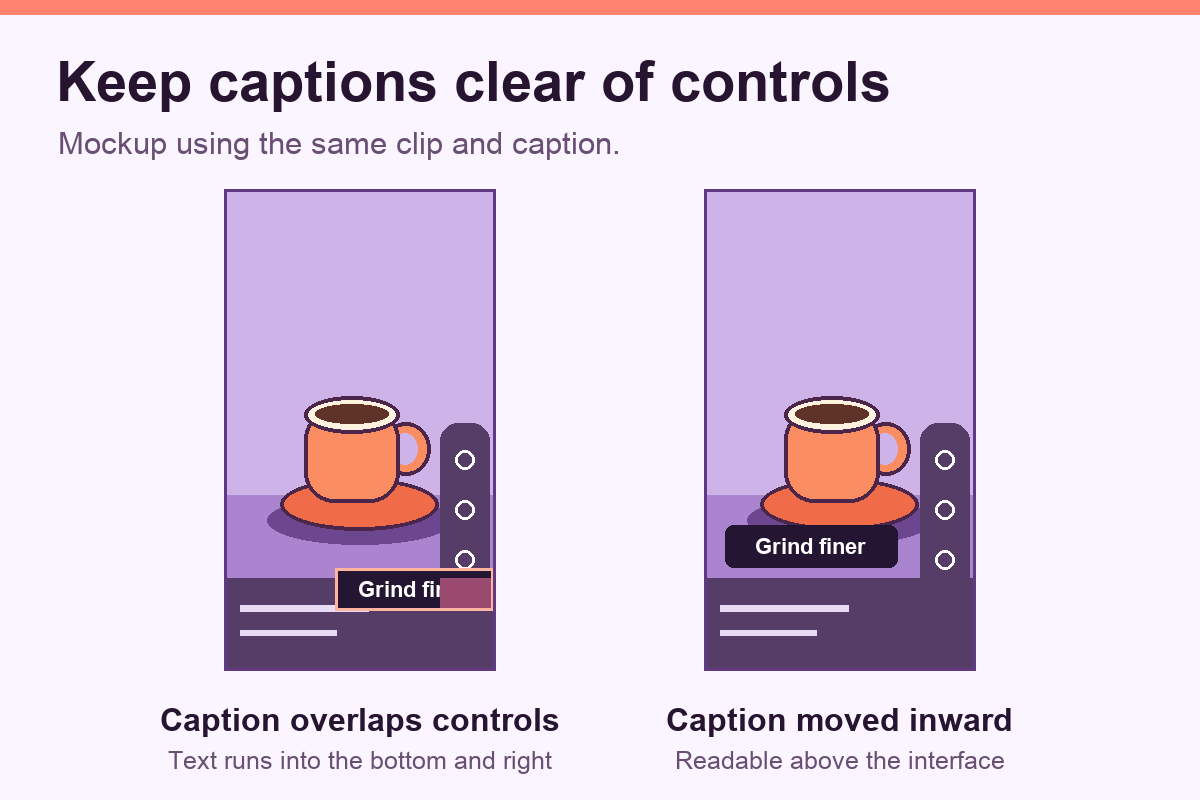
In the mockup, the example subtitle starts low and toward the right. Moving it up and inward clears the controls while leaving the espresso cup visible. If a subject’s face or hands already occupy that part of the frame, try a higher placement for that shot. Keep multi-line subtitles narrow enough to leave room for the controls, and watch for the widest line as you play through the edit. Test against the brightest shot as well as the darkest. A translucent background behind white text can help when the scene changes from one to the other.
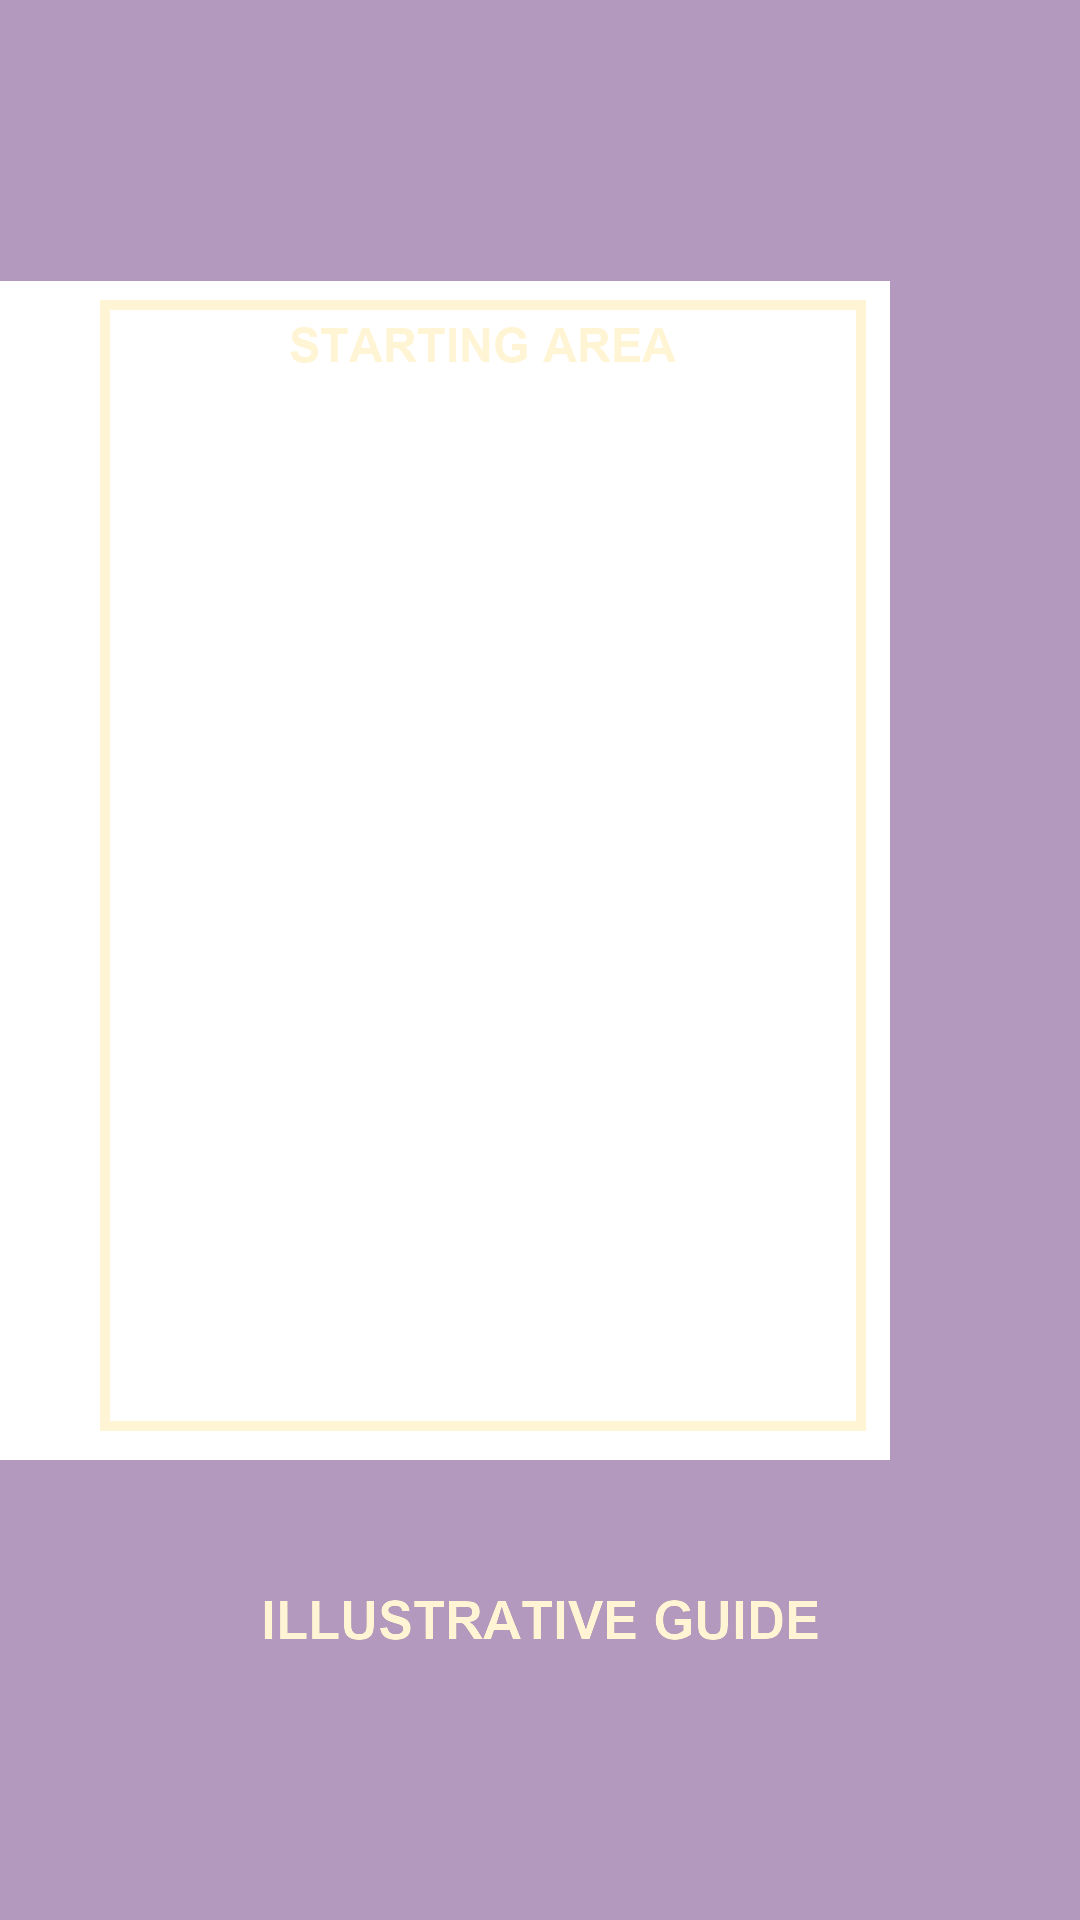
Download the Instagram Reels crop overlay (transparent PNG).
To use the guide, import it as the top layer of a 1080 × 1920 project and scale it to the full canvas. Put the words and logos you need viewers to read inside the outlined area while you position them. Hide the guide before export. The outline gives you a conservative place to start. The app preview should decide the final placement.
Export the Reel and inspect it on a phone
CapCut, Premiere Pro, and other editors have separate controls for the project and the final file. Check the canvas first, then check the dimensions in the export dialog. If the editor offers an MP4 export with H.264, that is a practical starting choice for a video file you can inspect and upload. Leave a 30 fps source at 30 fps for a standard export. If the source is 60 fps and you want to preserve that motion, check both the editor and the publishing route you plan to use.
- Export from the original project. Give the file a name you can distinguish from earlier versions, such as espresso-reel-1080×1920-v3.mp4.
- Open the exported file in a phone player. Check that the first frame appears upright, watch the edges when the subject moves, and listen for missing audio or an abrupt cut at the end.
- Open the video in Instagram’s Reel composer. Check playback text, pick the cover, and inspect the profile preview if available. Look at the feed after publishing if you share the Reel there.
- If the crop needs work, fix the project or cover source and export again. Keep the final file and the project together so you can reproduce the edit.
Transfer the original export if editing on a computer and uploading on a phone. A messaging app may send a compressed copy. Compare the copy’s file size and dimensions with the original when you suspect the transfer changed it. On a desktop, the video player’s file information or inspector is usually enough to confirm the frame size before you send anything.
Fix a Reel that looks blurry, cropped, or letterboxed
If the file already looks soft in your phone’s video player, inspect the source and export before changing anything in Instagram. Enlarging a small clip to 1080 × 1920 gives you a file with those dimensions and can still leave text or fine edges fuzzy. Go back to the original camera file, use a gentler crop, or rebuild small captions directly on the vertical canvas. If you made several versions, confirm that you uploaded the newest file.
Black bars around the video can come from a mismatch between the footage and the canvas. Look at the exported file full-screen. If you see the bars there, open the project and check whether the source sits inside a horizontal sequence or was set to fit inside the vertical frame with empty space. Fill the frame if you can keep the subject visible. When filling cuts off useful information, use the space for a title, a close-up, or an intentional background.
If the source is sharp and the upload appears soft on another phone, check the posted Reel on a stable connection before changing export settings. Then inspect text and faces at the same points in the local file and the app. If only the cover title is clipped, fix the cover layout and preview that crop before repeating the export. With a recurring series, save the corrected cover and caption placements as a template for the next video.
Frequently asked questions
What size should an Instagram Reel be?
Use a 1080 × 1920 pixel file for a full-screen vertical Reel. That canvas has an aspect ratio of 9:16.
Can I use a horizontal video for a Reel?
You can edit a horizontal clip into a vertical Reel. Reframe the subject shot by shot or fit the wide clip inside a vertical canvas when viewers need to see the full width.
What size should I design my Reel cover at?
Start on a 1080 × 1920 canvas so you can work with a frame from the Reel. Use Instagram’s profile preview to check which part of your cover appears on the grid.
Where should I put captions on an Instagram Reel?
Keep captions away from the bottom and right edges where playback controls and post information can overlap them. Check the longest caption in the actual Reel preview.
Why does my Instagram Reel look blurry after I upload it?
Compare the posted Reel with the original export on a phone. If the export already looks soft, check for a heavy crop, an enlarged low-resolution source, or compression during file transfer.
Should I export Instagram Reels in 30 or 60 fps?
Use 30 fps for footage shot at 30 fps. If you shot at 60 fps and want to keep that motion, check whether the publishing route you use supports your export settings.